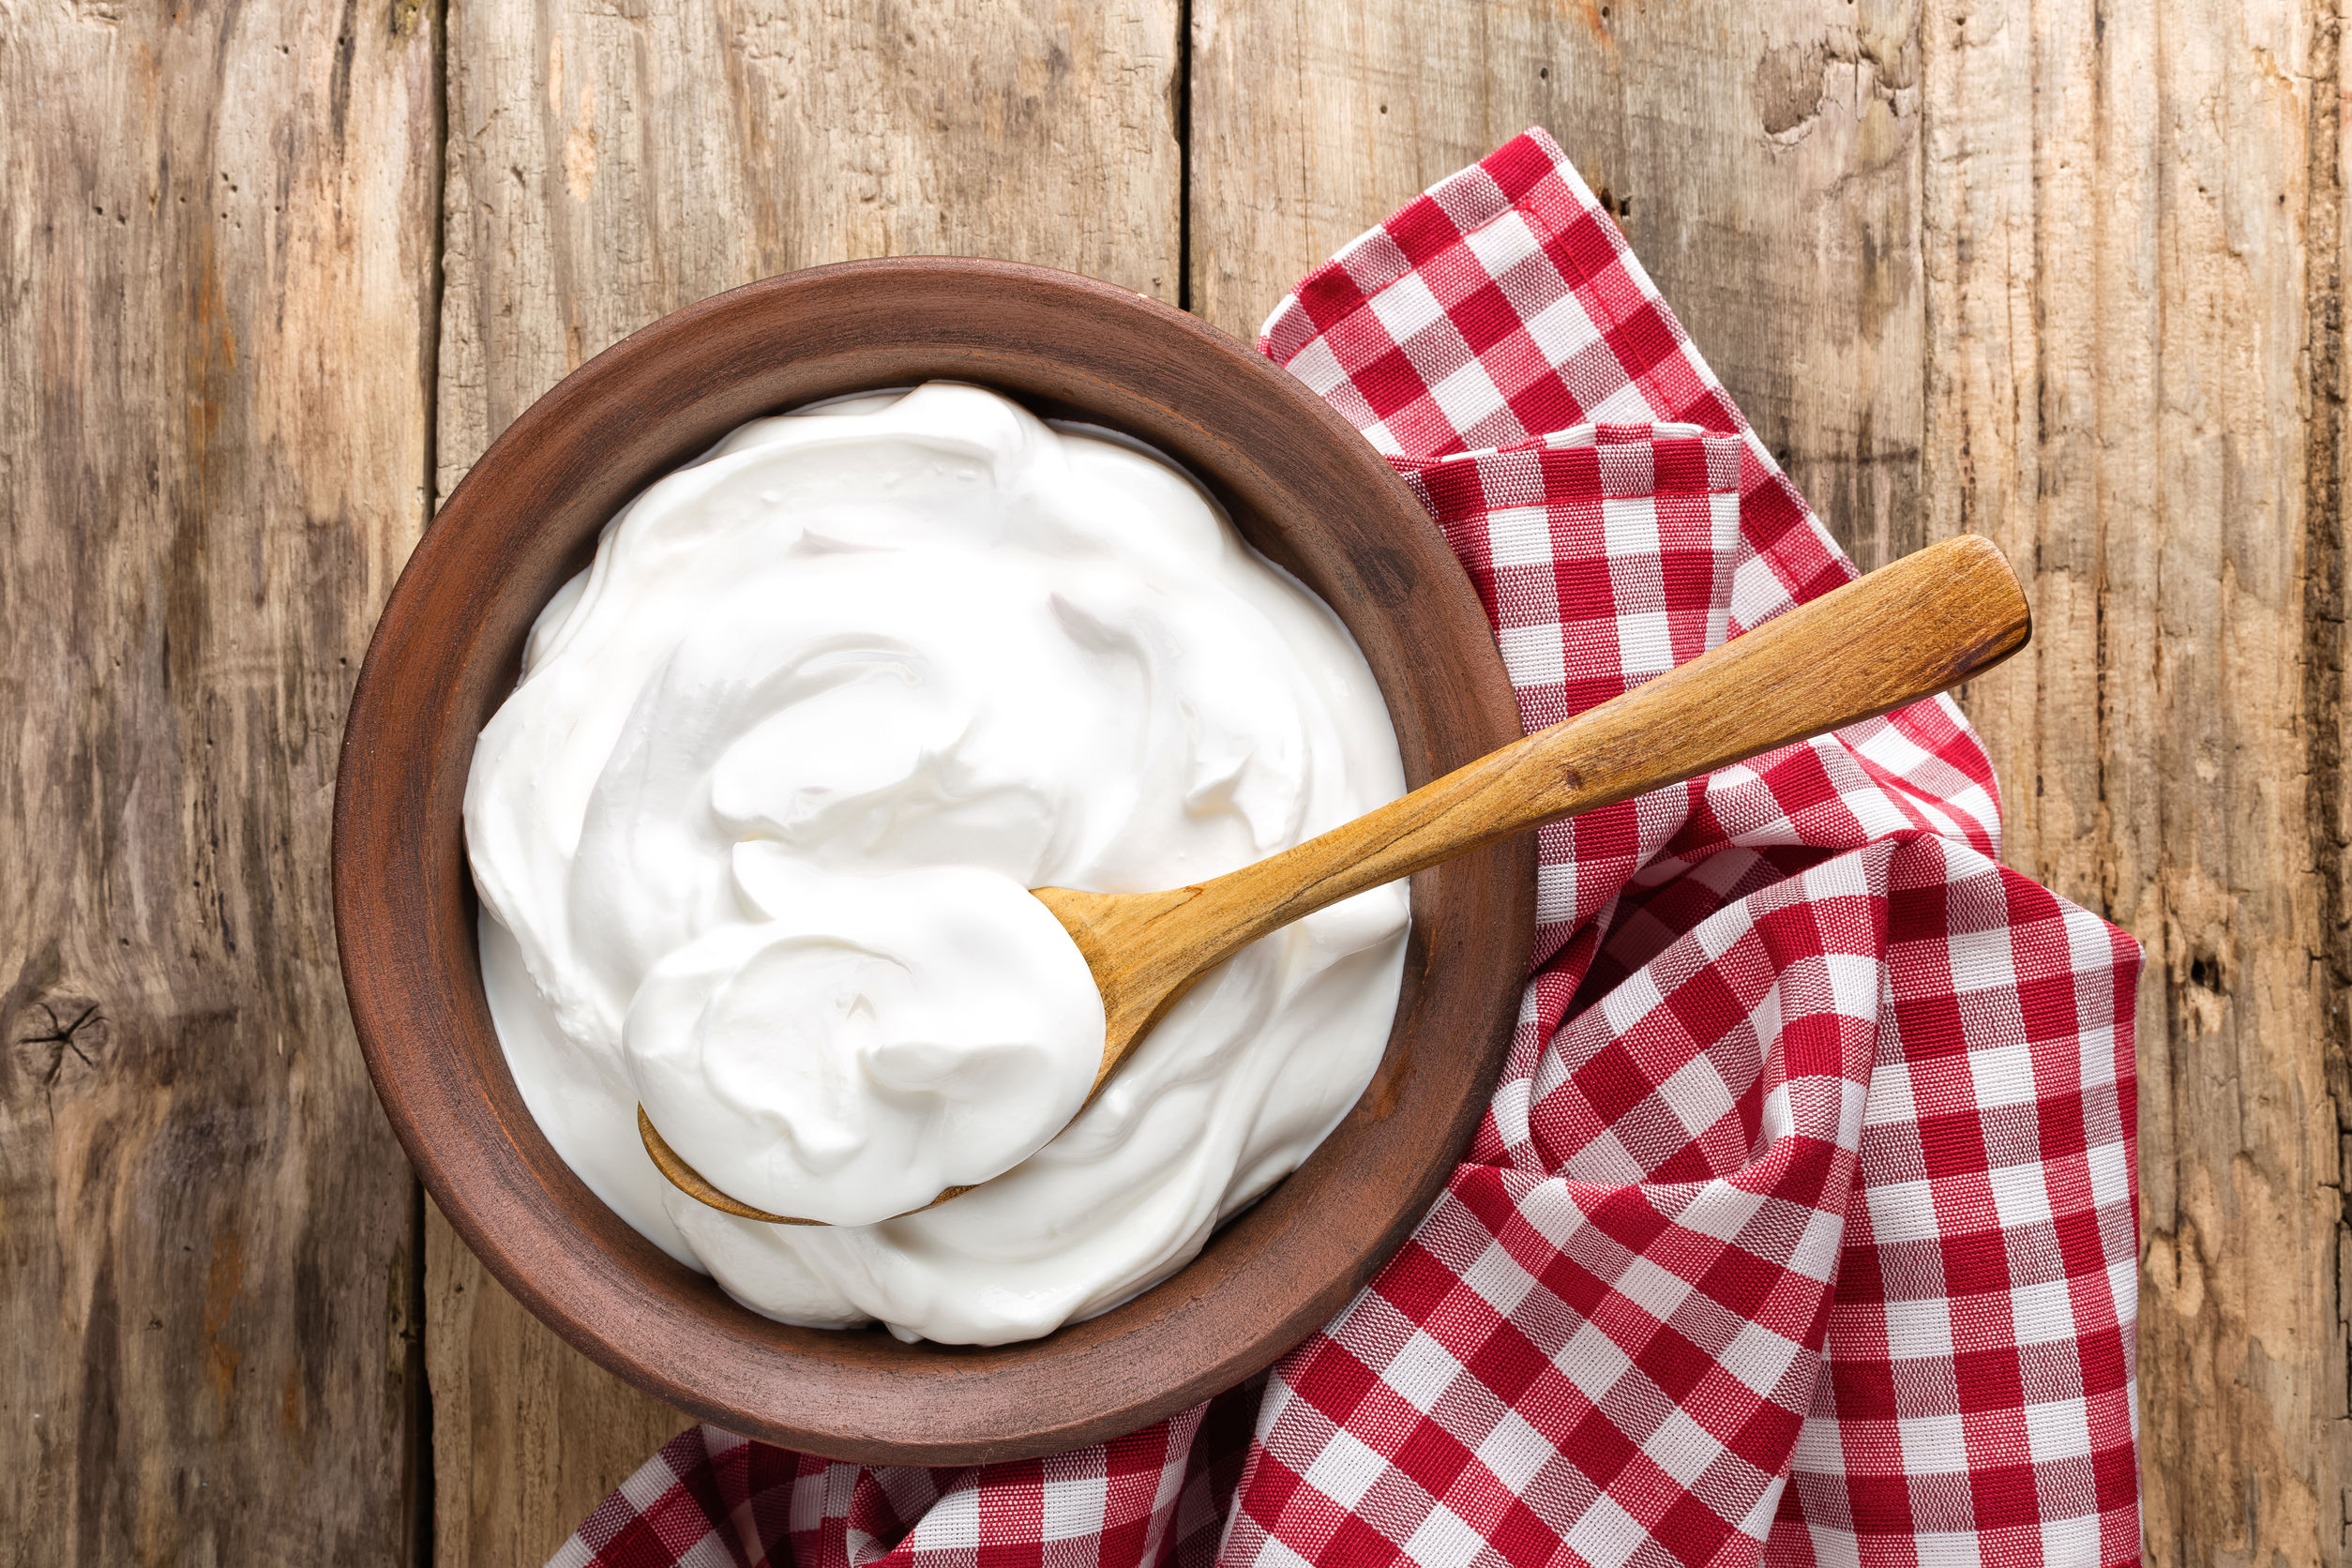
IMPORTANT NOTE WHEN USING YOUR FREEZE DRIED YOGURT CULTURE: If you want a quality yogurt with the appropriate amount of sweetness/tartness/texture you must follow the instructions carefully. Higher incubation temperatures and longer incubation times will increase the tartness of the yogurt. Of course you can experiment with temperature and time to change the flavor and texture of the yogurt.
STORING YOUR CULTURE FOR FUTURE USE: If you do not plan on using the culture right away, store it in the freezer for many months. Keep the packet inside a small container or Zip Lock plastic bag.
The following recipe can be used with our Yogotherm Yogurt Maker
Example: Batch size: 2 qts. or 2 liters of milk
Yogurt starter culture: some will produce a tangy result, while others will produce a sweeter and one will produce the probiotic yogurt with a special bacteria.
You can use fresh raw milk, pasteurized whole milk, 1 or 2% milk.
Slowly heat milk to 85c (185f) and hold for 10-30 minutes prior to step No. 1. This step is very important and will insure a thick consistency.
1) Cool milk using ice/water bath to the temperature stated on the yogurt packet you are using. Usually this range is 105f (40.5c) to 115f (46c). If you're using one of these packets of Yogurt Culture you can use as little as 1/8-1/4 tsp.(.616ml-1.2ml) with 2 qts or 2 liters of milk. I usually allow more time for the milk to ferment into yogurt so I'm not inclined to use an entire packet which can ferment the milk faster. After sprinkling the culture on the milk surface, allow 5 minutes for the culture to thoroughly dissolve then gently stir the culture thoroughly into the milk for 30 seconds. If you're using the commercial starter ABY-3 to make commercial size batches of yogurt, refer to the usage label on the packet or the Spec Sheet at our website product listing.
2) Pour into Yogotherm incubator (or your own incubator) and allow to set for a minimum of six hours or until it has set. It make take more time if you're using a portion of the packet, but this will save you money.
3) Usually 6-12 hours will get the result you want. Shorter time will produce a slightly thinner and less acidic yogurt. Longer time will produce a slightly thicker and more acidic yogurt, dependent on the inoculation temperature you started with.
4) To make a Greek style yogurt drain off 25-40% of the whey using a very fine mesh draining bag. This will make your yogurt thick and creamy, especially after whisking for a minute or two. Our Medium Draining Bag works great for this step and it easily fits over the pail in the Yogotherm Yogurt Maker. Important: refrigerate your yogurt until cool prior to draining. This will insure a thicker product.
5) Once your yogurt is ready to eat, you may want to mix in a little honey, fruit or whatever you like or enjoy it plain. These cultures can be re-cultured for several batches to follow when using a ratio of one part previously made yogurt to nine part milk. You may need to allow the yogurt to ferment longer when using this method due to the change in inoculation rate.
Enjoy.
-Steve Shapson, The CheeseMaker

