Using Fresh Milk Kefir Grains to Make Fresh Kefir
Equipment:
- 1/2 Gallon Jar for fermenting Kefir (clean and sanitize, rinse with hot water): included with our Deluxe Kefir Kit
- 1 Package of Fresh Kefir Grains
- 1 Cloth and Elastic Band to cover fermenting jar: included with our Deluxe Kefir Kit
- 1 Stainless steel slotted Spoon: included with our Deluxe Kefir Kit
- 1 Stainless steel mesh strainer (a fine mesh with small holes (1/32nd inch/.79mm is best): included with our Deluxe Kefir Kit
Procedure:
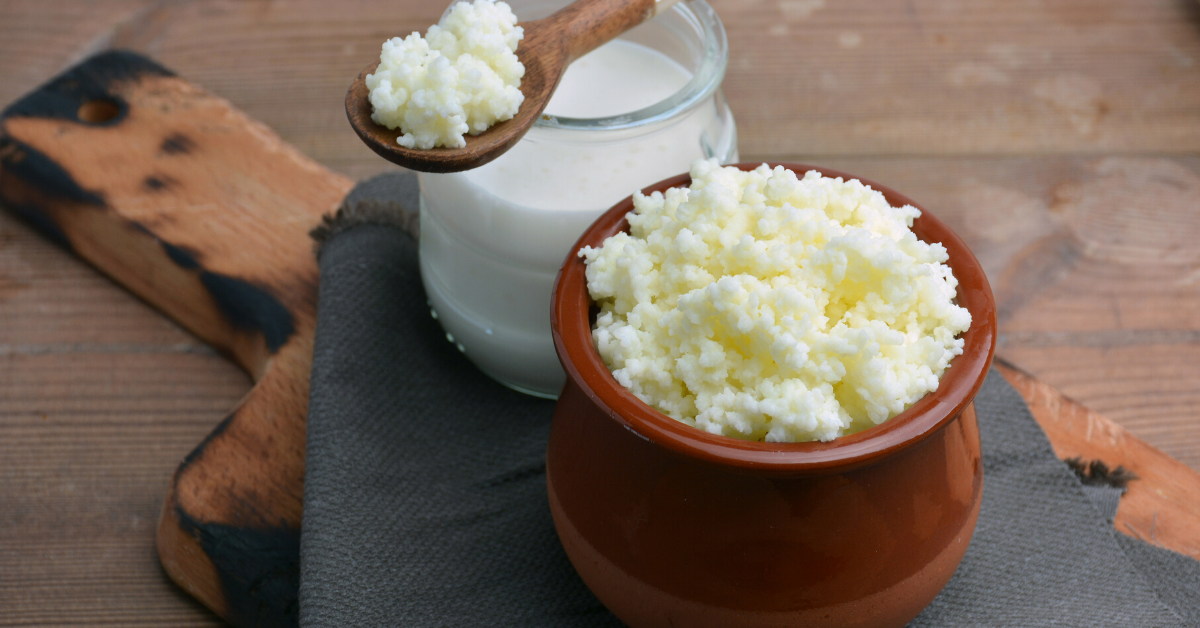
Our Fresh Kefir Grains include approximately 2-3 tsp./30-35 grams of fresh Kefir grains, and instructions on how to care, maintain and propagate your fresh milk Kefir grains. Our Kefir grains are propagated using only the highest quality fresh local pasteurized cow milk. Some suppliers sell dehydrated Kefir grains which do not work as well as fresh grains. Our Kefir grains are made fresh each week in large batches. Real Kefir grains will produce a full flavor profile, making authentic Kefir. These Kefir grains will propagate, producing more grains. Working with real Kefir grains is easy. Real Kefir grains will produce a full flavor profile, making authentic Kefir. These Kefir grains will propagate, producing more grains. Working with real Kefir grains is easy. A few minutes each day will make the process simple and produce a superior product. Healthy and probiotic, Kefir is an excellent supplement to your diet.
- When you receive your fresh Kefir grains, you will want to revive them by feeding them ½ to 1 cup of whole or 2% milk, allowing them to ferment the milk at room temperature (70-80F).
- After about 12 hours, feel them by adding a second cup of milk or you can strain off this milk and add fresh milk. This process will allow the grains to revive and grow. By the 3rd or 4th day using a third or fourth ½ cup of full cup of milk, this little batch of starter Kefir can be used to ferment a larger amount of milk.
- When you’re ready to make your first batch which should be approximate 1 quart (1 liter), strain off the milk you used to revive the grains and add these grains to a quart (liter) of fresh milk.
- Check your Kefir in about 12 hours or when you notice that it is creamy and a bit thick and tastes a bit sour.
- If your Kefir is watery and you notice a separation of the grains/milk solids and whey (watery liquid), the ferment was too long. You can either stir this up for consumption or stir and strain off the liquid and start a new batch.
- With the next batch add your milk and ferment until the flavor is a bit sweet with a hint of tanginess. When the Kefir has a creamy texture and smooth, it is ready to consume.
- Strain the Kefir from the grains using a stainless steel or plastic strainer or course cheese cloth. Never use aluminum. The holes in the strainer or cloth should be no larger than 1/32nd inch (.79mm) as you don’t want to lose the very small Kefir grains down the drain.
- Using a spoon, gently push the Kefir back and forth so the Kefir flows through your strainer while the grains stay behind. If you’re making Kefir from the strained grains, just add more milk. Mix or blend fruit into your Kefir if you’d like and refrigerate. If you want to store your grains for later use, rinse the grains through your strainer until they look yellowish/white.
- Place these grains into a plastic container and into the freezer. They will go dormant frozen and can be reactivated upon adding milk at a late date. Homemade Kefir will be thinner than store bought and may need to be strained to produce a thick product. Additives or thickeners are sometimes added to commercial Kefir to thicken it. Milk Kefir grains can be used to make water Kefir.
IMPORTANT:
If your Kefir tastes very funky or spoiled (not sour) and/or has mold growing on the surface, discard the grains and start again with fresh grains. You may want to propagate your grains and freeze some of them for later use or just in case you see mold or taste a bad flavor in your Kefir. Having some stored frozen grains is a great idea in case a batch goes bad.
Enjoy,
The Cheesemaker

